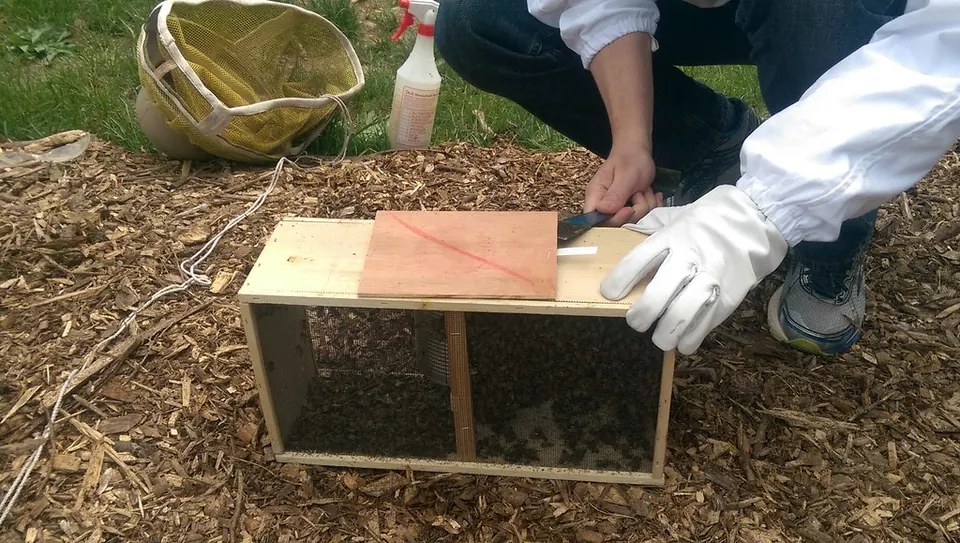
- Have the hive fully set up, with frames, a feeder and an entrance reducer, before you pick up the package.
- To install a package of bees: spray with 1:1 syrup, remove the can and the queen cage, shake the bees in, place the cage, close up and feed.
- Let the workers release the queen through the candy plug over 2–3 days. Penn State advises releasing her by hand if she is still caged after 3–5 days.
- Look for eggs about a week after release. If there are none, contact your supplier about a replacement queen right away.
- Feed until the bees have drawn out most of the comb in the first box.
Knowing how to install a package of bees takes most of the stress out of pickup day. A package is a screened box holding about three pounds of worker bees (roughly 10,000, per Penn State Extension), a can of sugar syrup and a queen in her own small cage. Your job is to move the bees into the hive, place the queen so the workers can release her slowly, and give them food while they build comb.
The steps below follow Penn State Extension’s package installation guidance and the UF/IFAS Honey Bee Lab’s notes on installing packages and nucs. Your supplier’s instructions come first if they differ, for example on the type of queen cage. Still choosing between a package and a nuc? See packages vs nucs vs swarms.
What do you need before the package arrives?
Set up the hive at least a few days early, on its stand, level side to side and in its final spot. Moving a hive a short distance after the bees are in confuses foragers.
- A complete hive: bottom board, one deep box with frames and foundation, inner cover and outer cover. Add the second deep later, when the first is mostly full.
- A feeder and 1:1 sugar syrup (equal parts sugar and water, by weight or volume).
- A spray bottle with the same 1:1 syrup, to calm the bees and keep them from flying.
- An entrance reducer, set to a small opening.
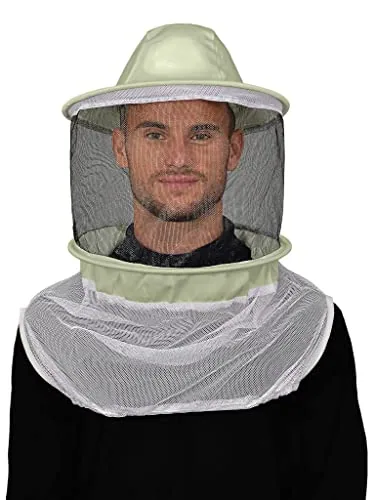
- A hive tool, a veil and gloves. A lit smoker is optional; many beekeepers skip smoke for packages.
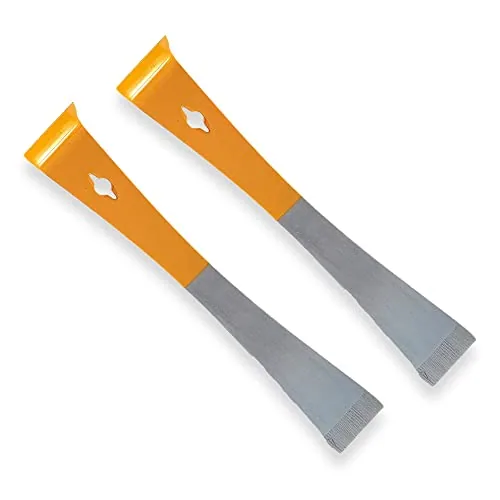
- A small nail, toothpick or the tool your supplier recommends for the candy plug.
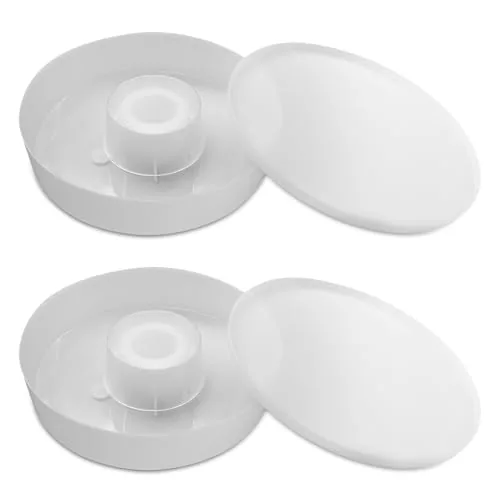
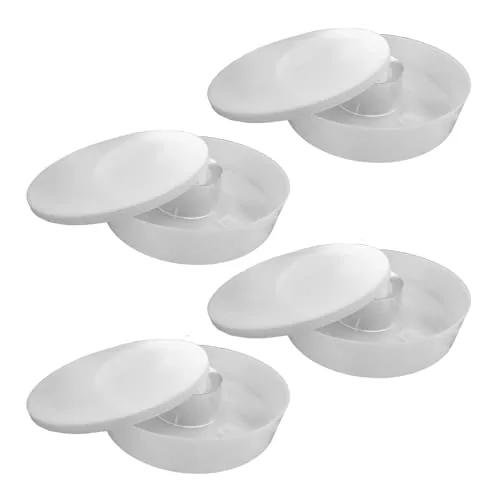
AOIT Rapid Round Hive Top Feeder, 1/2 Gal, 2 Pack
- Type
- Top feeder (round)
- Fits
- 8- or 10-frame
- Capacity
- 1/2 gallon each
Best for Simple syrup feeding
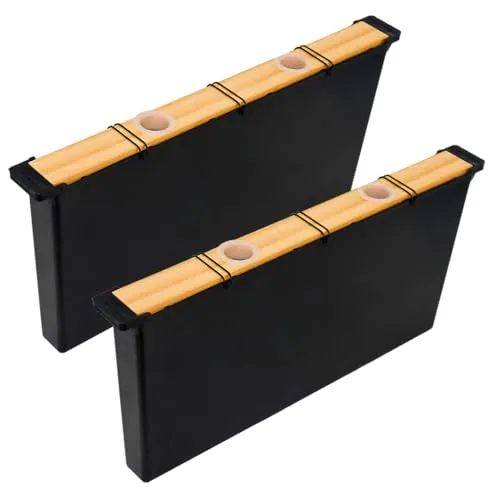
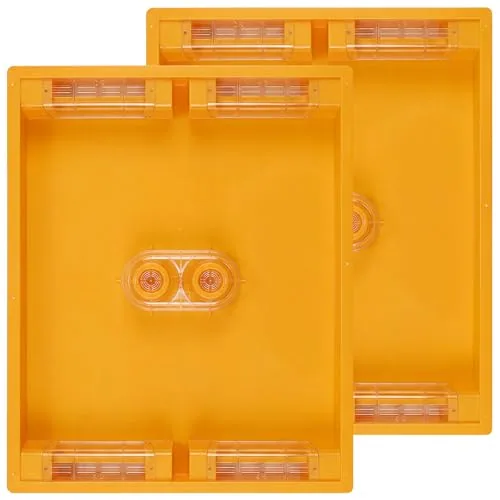
BeeCastle 3.5 L Deep Frame Feeders, 2 Pack
- Type
- Frame feeder
- Fits
- Deep boxes
- Capacity
- 3.5 L each
Best for Feeding inside the hive
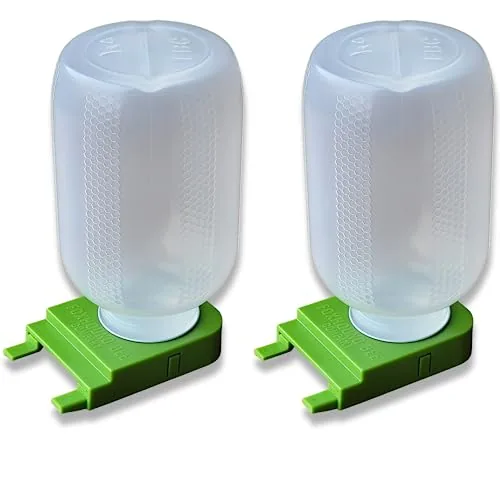
Foxhound Half-Gallon Entrance Feeders, 2 Pack
- Type
- Entrance feeder
- Capacity
- 70 fl oz (8.75 cups)
- Count
- 2
Best for Fewer refill trips
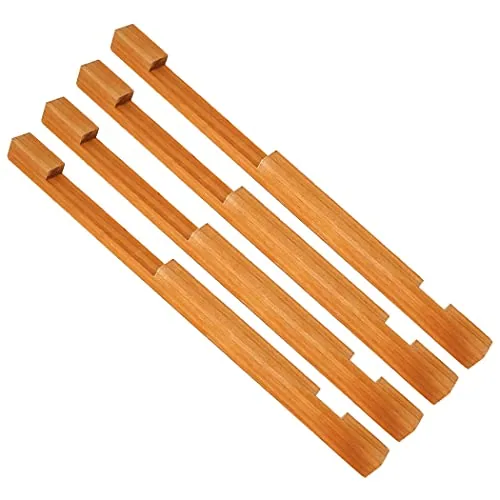
BeeCastle Wood Entrance Reducers, 10-Frame, 4 Pack
- Type
- Entrance reducer
- Fits
- 10-frame
- Count
- 4
Best for New or small colonies
Pick up the package as soon as you can and drive straight home. Keep it shaded and ventilated, never in a closed trunk or hot car. If you can’t install the same day, keep the package somewhere cool and dark, lightly spray the screen with syrup and install as soon as possible.
Still choosing gear? See the best beehives for beginners, best beehive feeders and best beekeeping suits.
How to install a package of bees: the steps
Install in the late afternoon or on a cool, calm day if you can. The bees are less likely to fly off, and they settle overnight.
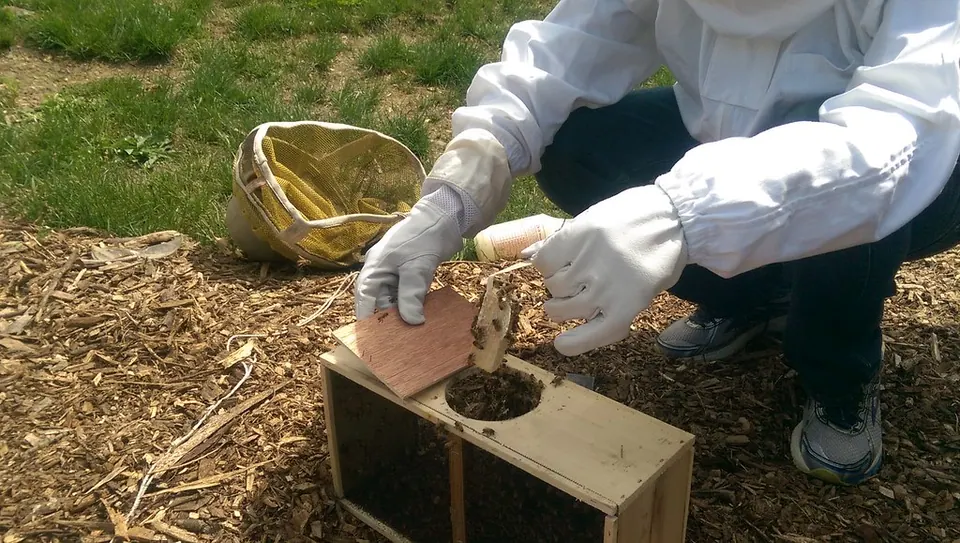
- Reduce the entrance and open the box
Fit the entrance reducer on its small opening without blocking it completely. Remove three to five frames from the middle of the box to make room for the bees.
- Spray the bees with 1:1 syrup
Lightly mist the bees through the screen. Penn State suggests a 1:1 sugar-to-water mix. Wet bees groom each other instead of flying. Don’t soak them.
- Settle the bees and remove the can
Tap the package firmly on the ground so the cluster drops to the bottom. Pry off the lid, lift out the syrup can, and cover the hole with the lid or a board while you work.
- Remove the queen cage
Lift out the queen cage, usually hanging on a strap next to the can. Check that the queen is alive and keep the cage in a pocket or shaded spot. Don’t leave it in the sun.
- Shake the bees into the hive
Turn the package over the gap in the frames and shake firmly to drop most of the bees in. Then set the package, open side toward the entrance, near the hive so the rest can walk in.
- Place the queen cage
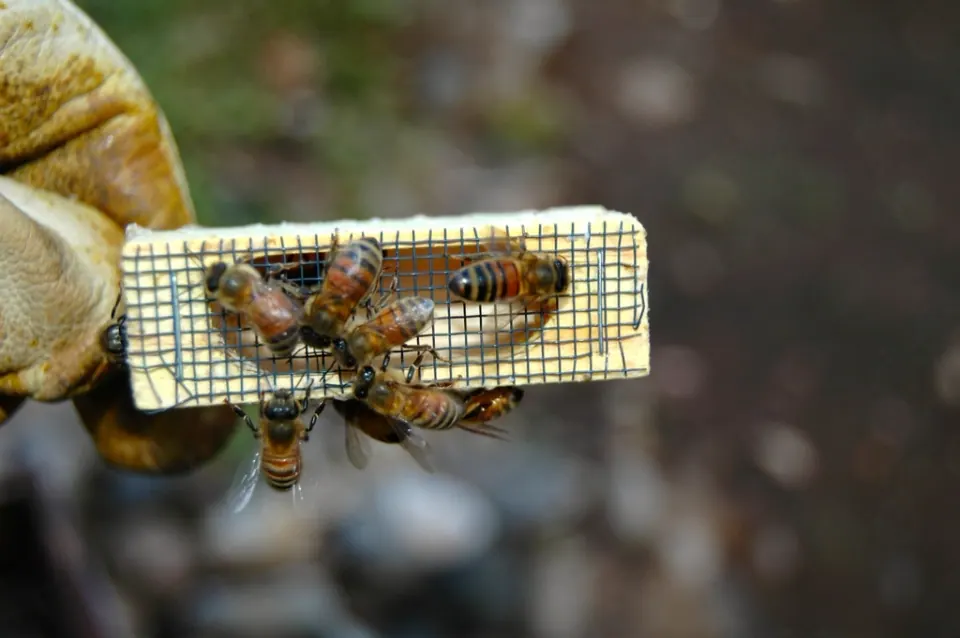
Expose the candy end of the cage, or puncture it gently if it is covered, so workers can eat through and release her over two to three days. Hang or wedge the cage between two center frames, screen facing out so workers can reach her. With foundation-only frames, some beekeepers hang it from the top bar; follow your supplier’s directions for their cage type.
- Replace frames and close up
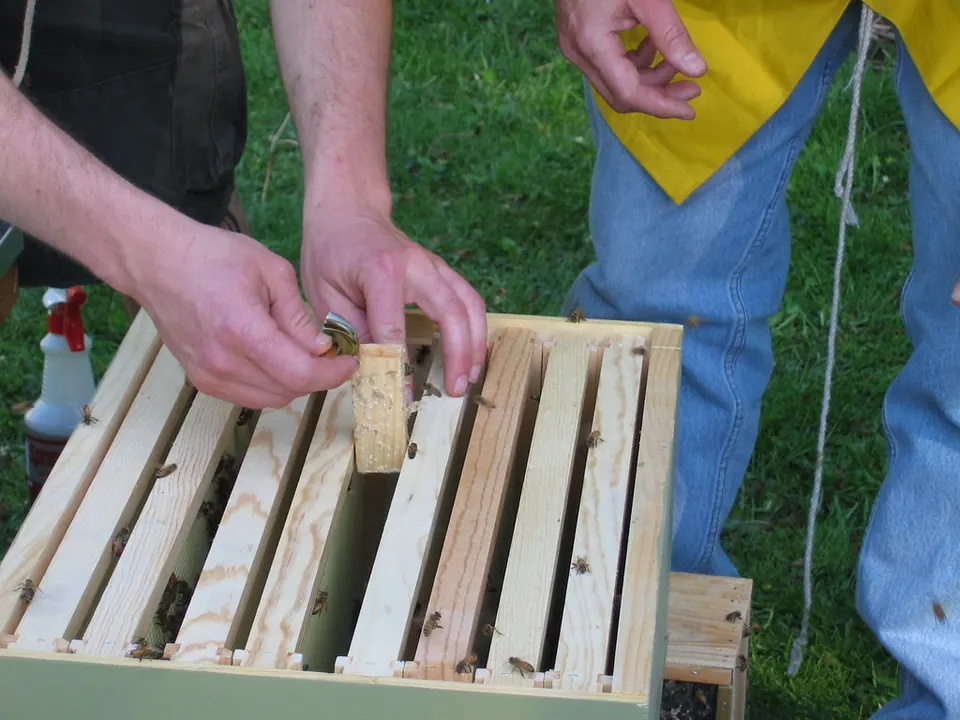
Slide the frames back in slowly so you don’t crush bees. Put on the inner cover and the feeder, then the outer cover. Never leave gaps, which lead to wild comb.
- Feed and walk away
Fill the feeder with 1:1 syrup. Then leave the colony alone for two to three days. Opening it repeatedly in the first days can lead the bees to reject the queen.

What happens in the first two weeks?
The first fortnight is about confirming two things: the queen is out, and she is laying.
After installation: what to check and when
| When | What to do | Why |
|---|---|---|
| Day 0 | Install, feed 1:1 syrup, close up | The bees need food to draw comb |
| Day 2–3 | Quick check: is the queen out of the cage? | Penn State’s suggested release window |
| Day 3–5 | If she is still caged, release her by hand over the frames | Watch carefully; she may fly |
| About day 7 after release | Look for eggs in the center frames | Eggs mean a laying, accepted queen |
| About day 14 | First fuller inspection; keep feeding | Regional calendars suggest waiting about 2 weeks |
| Every 7–14 days after | Add the second deep at 70–80% full | Give room before the bees need it |
Source: Penn State Extension; Hive & Frame seasonal calendar
Package install timeline
Days after installation for each check (approximate)
When you check for the queen, take out the empty cage and remove any comb the bees built around it. Work slowly; a new colony with little comb has few stores to fall back on.
If you find no eggs about a week after release, the queen may have died or been rejected. Penn State advises ordering a new queen right away. Your supplier may replace her. Note what you see in the hive inspection log so you can track progress.
How long should you feed a new package?
Keep feeding 1:1 syrup until the bees have drawn out most of the foundation in the first box and a steady nectar flow is on. A package arrives with no stored honey and no comb, so the syrup is what lets the workers make wax. Penn State notes that feeding is especially important when weather keeps the bees from foraging.
Remove the feeder before you add a honey super, so you don’t end up with sugar syrup in the honey. The regional calendars in our seasonal calendar also say to feed only new packages, nucs and splits once the main flow starts.
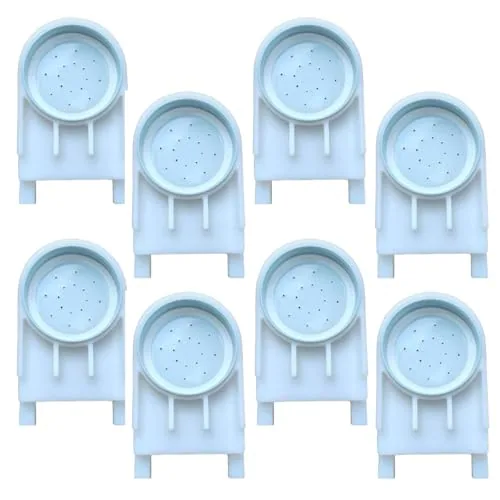
AukBeeFun Mason Jar Entrance Feeders, 6 Pack
- Type
- Entrance (mason jar)
- Capacity
- Your regular-mouth mason jar
- Count
- 6
Best for Low-cost syrup feeding
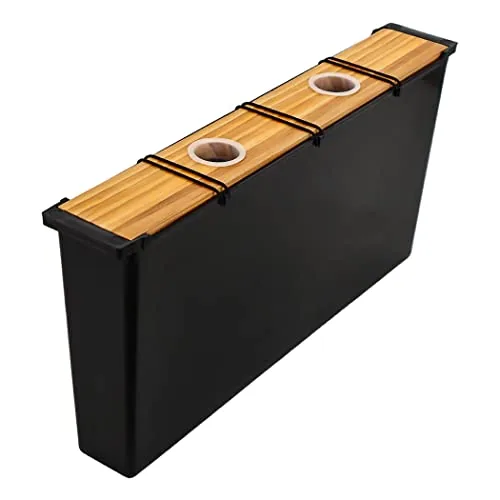
BeeCastle Bee Pro 6.5 L Deep Frame Feeder
- Type
- Frame feeder
- Fits
- Deep boxes
- Capacity
- 6.5 L (title) / 6 L (bullets)
Best for Heavy feeding in deep boxes
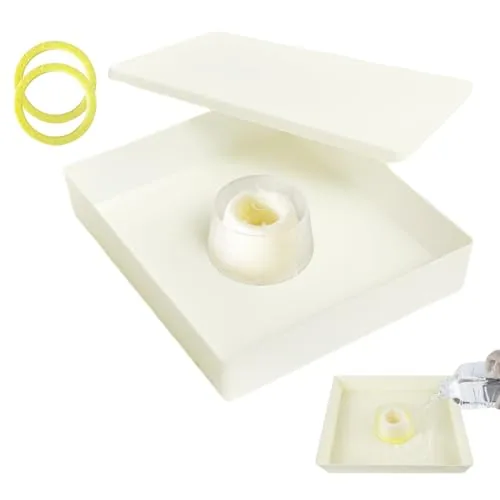
KAGZ 1.5 Gal Hive Top Feeder, 10-Frame
- Type
- Top feeder
- Fits
- 10-frame
- Capacity
- 6 L (about 1.5 gal)
Best for Large-volume fall feeding
Installing a nuc instead?
A nuc is simpler. Set the nuc box next to the hive with its entrance facing the same way and let the bees fly for a short while if your supplier suggests it. Then move the frames, in the same order and orientation, into the center of your deep box. Fill the gaps on either side with frames of foundation, feed and close up. There is no queen cage to deal with; just look for eggs and brood at the first check.
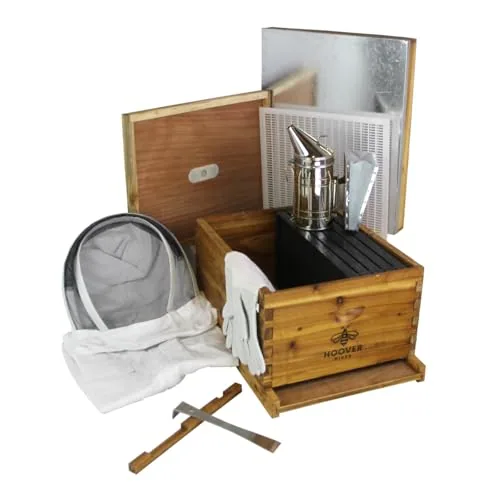
Hoover Hives 10-Frame Wax-Coated Starter, 5 Frames
- Frames
- 10-frame box, 5 frames included
- Boxes
- 1 deep
- Finish
- Wax-coated
Best for Installing a purchased nuc
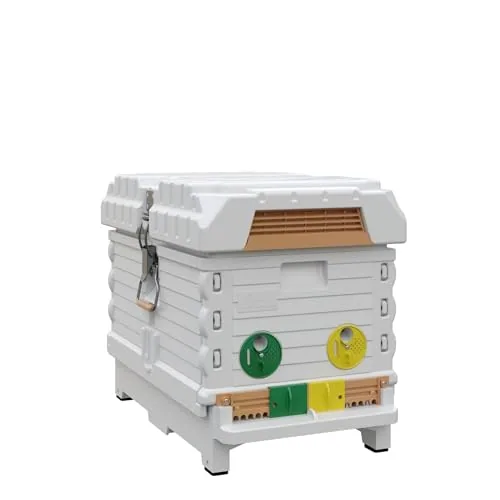
Apimaye Insulated 7-Frame Nuc, Plastic Core Frames
- Frames
- 7
- Boxes
- Nucleus box
- Material
- Insulated plastic
Best for Housing splits and caught swarms
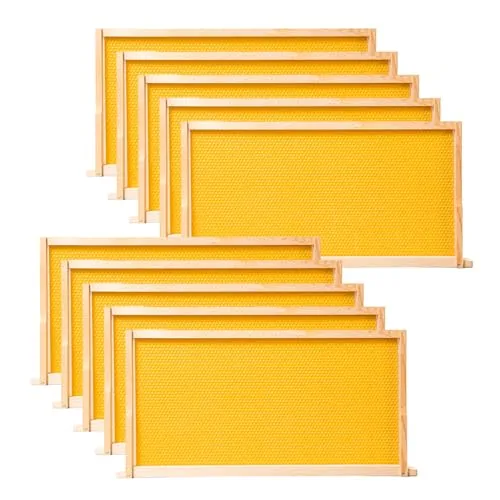
POLLIBEE Deep Frames with Waxed Foundation, Yellow, 10
- Size
- Deep, 19 x 1-3/8 x 9-1/8 in
- Foundation
- Beeswax-coated plastic, yellow
- Material
- Pine frames
Best for Filling a deep box
Mistakes to avoid on install day
- Leaving the package in a hot car. Bees overheat quickly in a closed vehicle.
- Releasing the queen directly. Let the workers release her through the candy.
- Leaving frames out. Gaps fill with wild comb that is hard to remove later.
- Checking every day. Give the colony two to three days, then a quick look.
- Skipping the entrance reducer. A small colony can’t defend a wide entrance against robbers.
- Stopping feeding too soon. Without syrup, a package can’t draw comb in a cold or wet spring.
Who needs what extra gear?
- First-time beekeepers: a hooded suit or jacket and gloves make install day calmer. See protective gear.
- Cool, wet springs: an in-hive feeder (top or frame) keeps syrup available without opening the hive. See bee health and feeding.
- Small backyards: an entrance facing away from paths and a nearby water source keep bees out of neighbors’ birdbaths. See backyard and urban.
Installing a package is quick once the hive is ready: spray, remove the can and queen cage, shake the bees in, place the cage, close up and feed. The real work is patience afterwards. Leave the colony alone for two to three days, confirm the queen is out, look for eggs about a week later, and keep feeding until the comb is drawn. Then switch to regular inspections every 7–14 days.
Questions
How do you install a package of bees?
How long does it take bees to release the queen?
Should I use smoke when installing a package?
What if the package queen is dead?
Can I install a package in the rain?
When should I add the second box?
Sources
- Penn State Extension: Installing packaged bees
- UF/IFAS Honey Bee Lab: Installing packages and nucs (April 2015)
- Penn State / MAAREC: Beekeeping Basics (AGRS-93)
- Utah State University Extension: Setting up and placing a hive
- Penn State Center for Pollinator Research: Honey Bee Management Throughout the Seasons