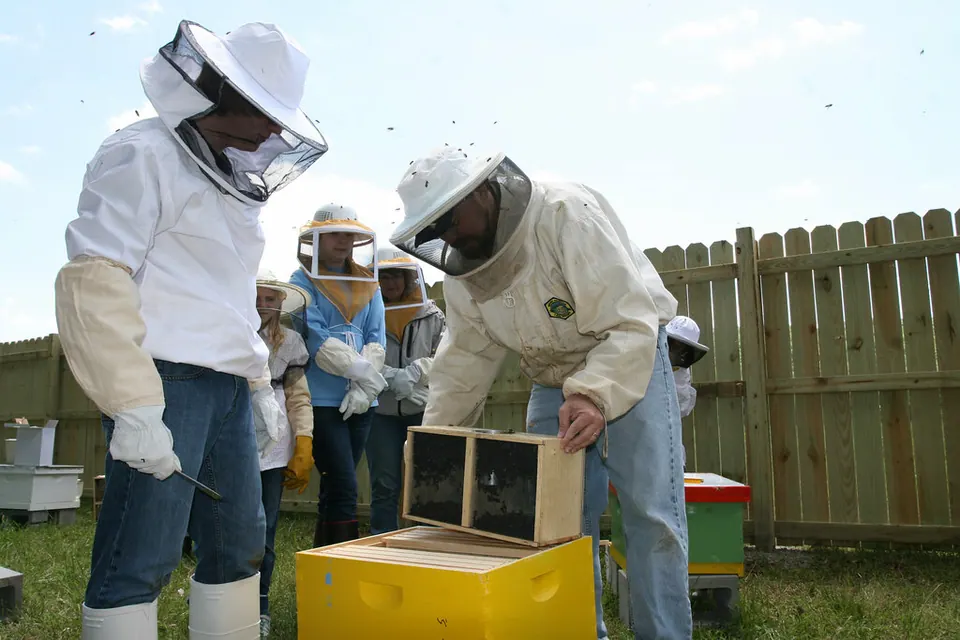
- Learning how to start beekeeping is mostly a matter of timing: order bees in early winter, set up hives in late winter, install bees in spring.
- Check your state’s apiary registration rules and any local or HOA limits before you buy anything.
- Start with two colonies in the same hive style, so you can compare them and borrow frames between them.
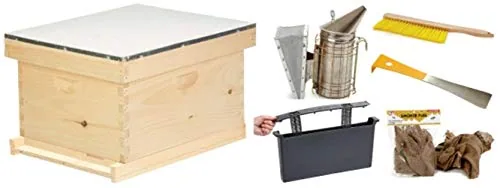
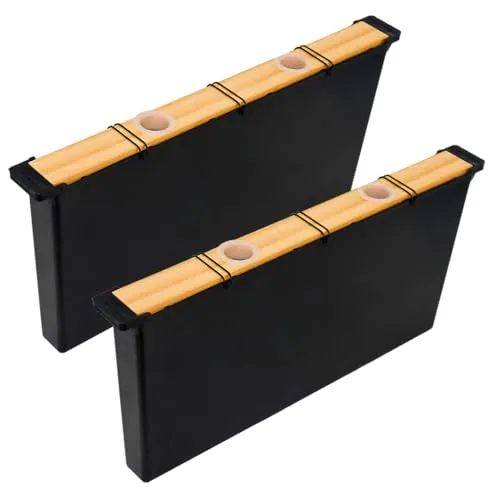
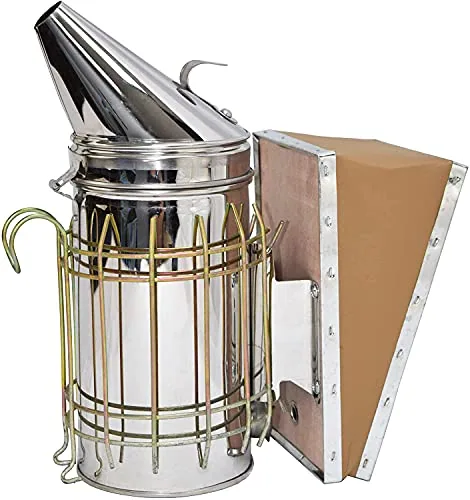
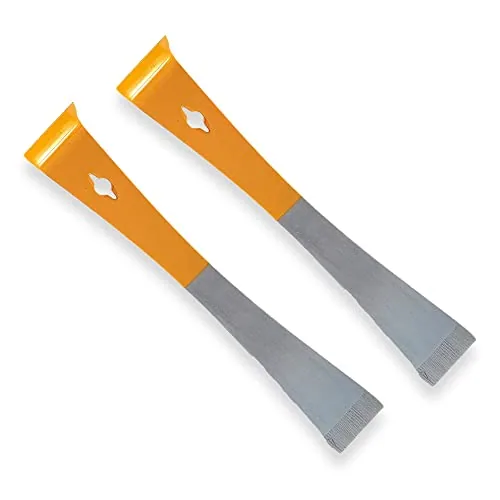
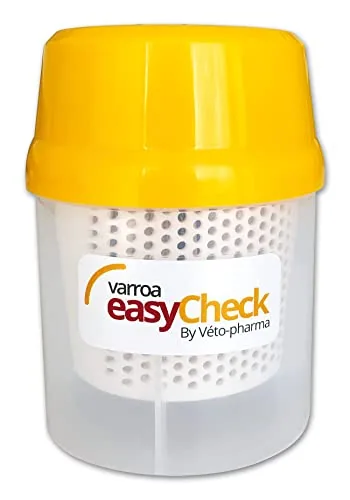
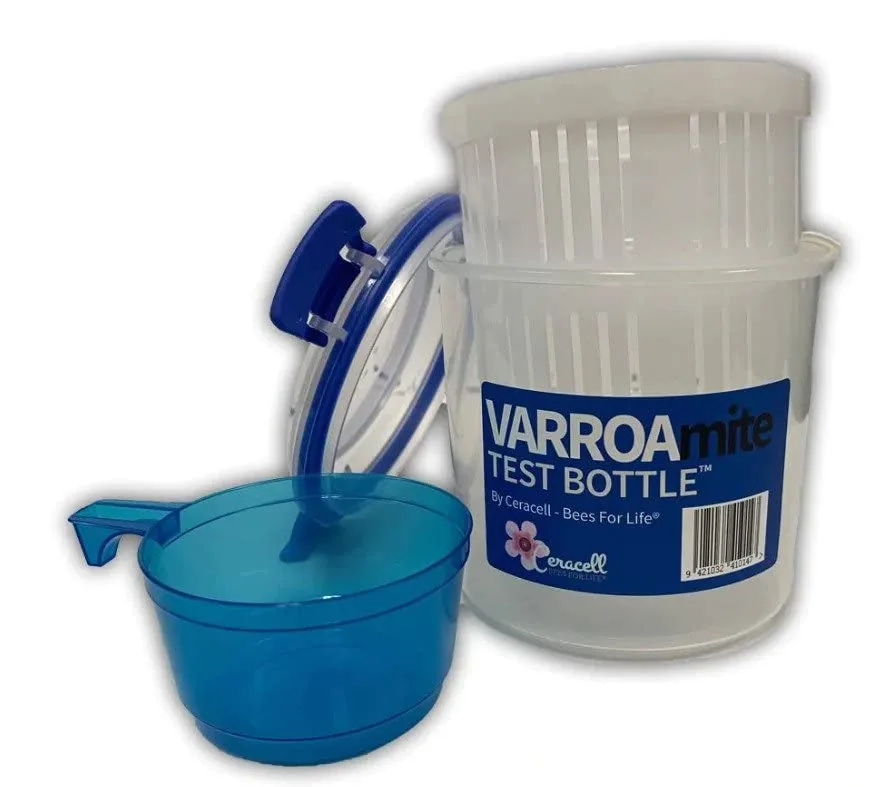
- Core gear is a complete hive, a feeder, a smoker, a hive tool, a veil or suit, gloves and a mite test kit.
- Plan on little or no honey in year one. The real first-year goal is a colony with low mites and full stores going into winter.
If you want to know how to start beekeeping, start with the calendar, not the catalog. Bees are a seasonal purchase: packages and nucs are sold in late winter for spring pickup, and the best regional suppliers often sell out by February. Everything else (hive, gear, a place for the hive, a local mentor) needs to be ready before the bees are.
This guide lays out a first-year plan for a US backyard beekeeper, with the decisions in the order you will meet them. It draws on Penn State Extension, Utah State University Extension, the Honey Bee Health Coalition (HBHC) and the regional extension calendars behind our seasonal calendar. It does not describe our own colonies, because we don’t keep test colonies. The gear picks are compared by maker specs and listing details.
Is beekeeping right for you?
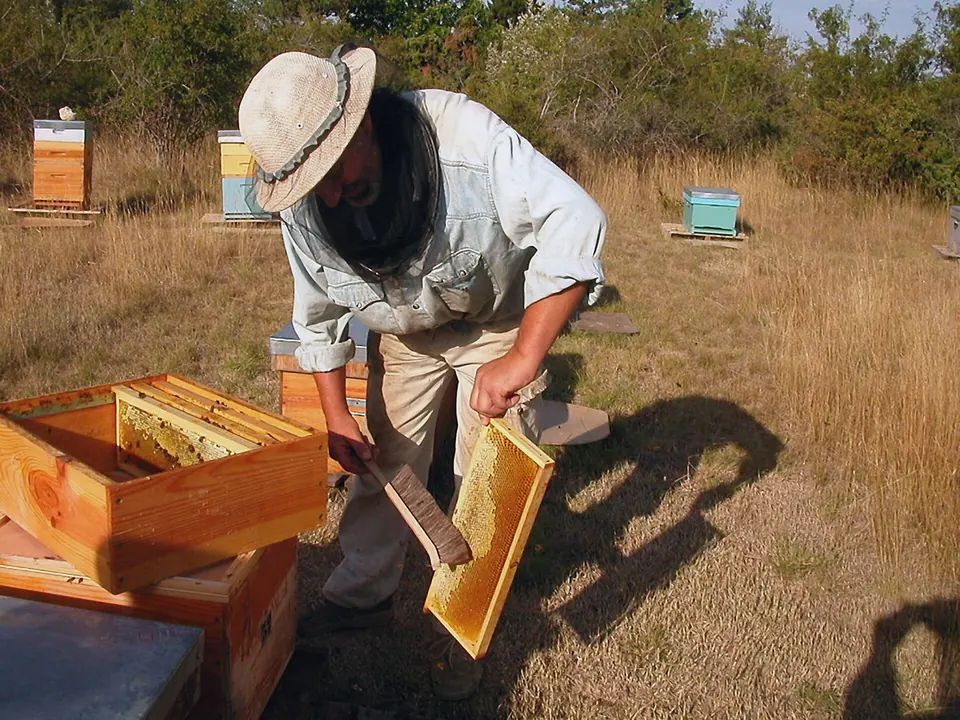
Before spending anything, be honest about three things: time, stings and neighbors. A new colony needs a look every week or two from spring through early fall, and you can only open the hive on warm, calm days. Mite checks run monthly through the season. Missing a few weeks in May can mean a swarm. Missing August mite control can mean a dead colony by March.
You will get stung occasionally, even in a good suit. Most stings are a short, sharp annoyance, but if anyone in your household has had a severe reaction to an insect sting, talk to a doctor or allergist before you set up a hive. Seek emergency care for signs of anaphylaxis.
Finally, check the rules. Many states require apiary registration. Pennsylvania, Delaware and New York run registration programs, for example, while Michigan does not require it. Cities, counties and HOAs can add setback, hive-count or water-source rules. The Apiary Inspectors of America keeps a directory of state apiarists. That office is also who you call if you ever suspect American foulbrood.
How to start beekeeping, step by step
Here is the order that extension programs and experienced clubs tend to recommend. The months assume a temperate US region; the South and Southwest run several weeks earlier, and the North and the mountains run later. Use the seasonal checklist to see the timing for your region.
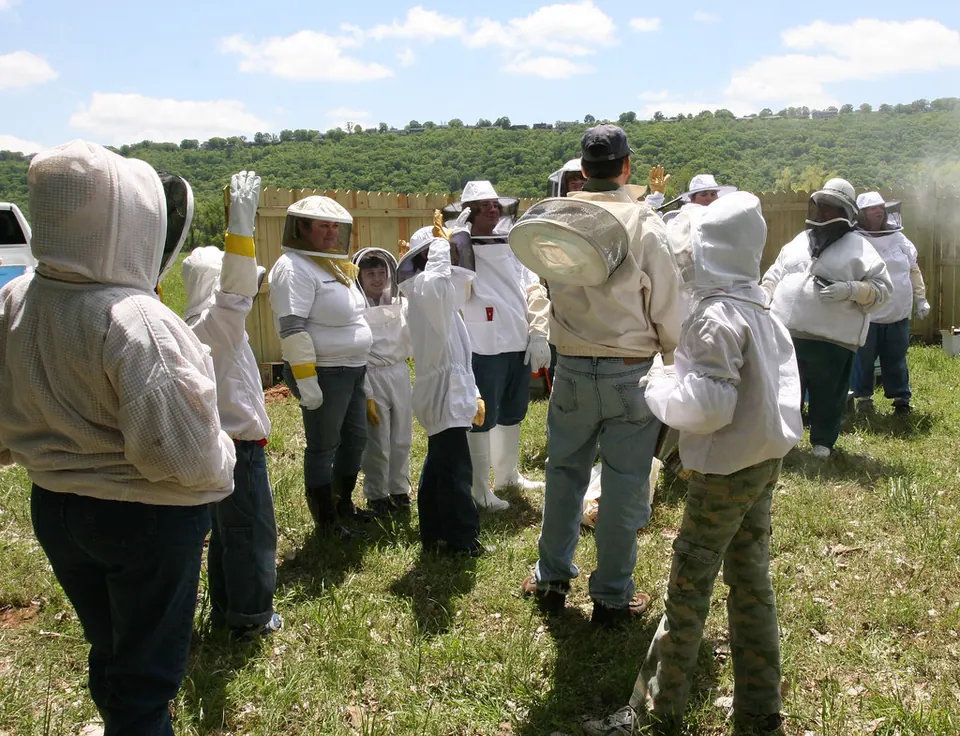
- Fall and early winter: learn and join
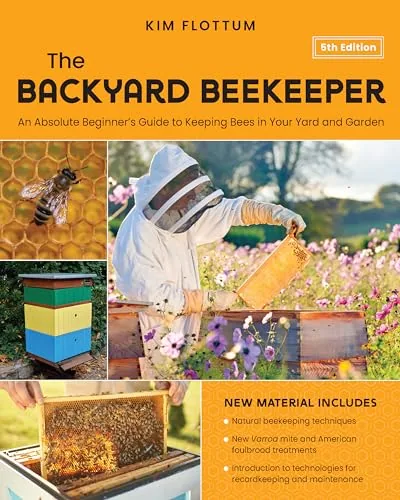
Take a beginner class, read one solid book cover to cover and join your local association. Decide on a hive style now, because every box and frame you buy later has to match it.
- Early winter: order your bees
Order packages or nucs from a regional supplier or a local beekeeper. Penn State Extension advises ordering packages by early winter. Bees are not sold through the gear links on this site. Our packages vs nucs vs swarms guide helps you choose.
- Winter: buy and build the hive
Assemble and paint woodenware indoors (or buy pre-assembled boxes). Get two complete hives if you can. Have frames with foundation for every slot, plus a feeder.
- Late winter: pick and prepare the site
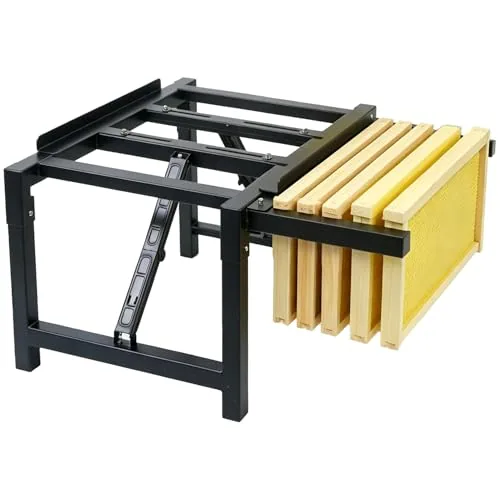
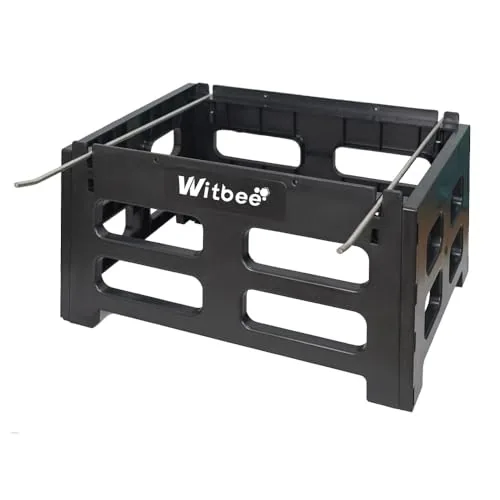
Choose a level spot with morning sun, some afternoon shade in hot regions, a wind break and a water source nearby. Put the hive on a stand to keep it off damp ground and away from skunks. Point the entrance away from paths and property lines.
- Spring: install the bees
Install the package or nuc the day it arrives, feed 1:1 syrup and leave the colony alone for a few days, apart from checking that the queen has been released. Our package installation guide walks through it.
- Spring to summer: inspect and add room
Inspect every 7–14 days. Look for eggs, a solid brood pattern, stores and space. Add the second brood box when the first is about 70–80% full of bees, then a honey super. See how to inspect a beehive.
- Summer to fall: count mites and control them
Do an alcohol wash monthly from spring on and compare the result with the HBHC 9th-edition threshold for that season. Late summer counts matter most, because that is when the colony raises its winter bees.
- Fall: build stores and winterize
Weigh or heft each hive, feed 2:1 syrup if light, fit mouse guards and entrance reducers, and manage moisture. Then leave them alone. Our winterizing guide has regional store targets.
Which hive should a beginner choose?
Most US beginners start with a Langstroth hive: stacked boxes of removable frames. It is the format most clubs, mentors, suppliers and extractors are built around, and nucs are sold on Langstroth deep frames. The 10-frame box is the US standard. The 8-frame version is lighter to lift, which matters when a full deep can weigh more than many people want to carry. Top bar hives avoid lifting boxes, but you harvest by crush and strain, and standard nucs don’t fit.
Common beginner hive styles
| Langstroth 10-frame | Langstroth 8-frame | Top bar | |
|---|---|---|---|
| Starting setup per colony (our shopping list) | 2 deeps + 2 medium supers | 2 deeps + 3 medium supers | 1 long body |
| Takes standard nucs | ✓ yes | ✓ yes (5-frame nucs) | ✗ not without cutting comb |
| Works with an extractor | ✓ yes | ✓ yes | ✗ crush and strain |
| Lifting | ~ heaviest boxes | ✓ lighter boxes | ✓ no box lifting |
| Parts from other brands fit | ✓ mostly, check dimensions | ~ fewer options | ✗ maker-specific bars |
Source: Hive & Frame startup shopping list assumptions
Whatever you pick, don’t mix 8-frame and 10-frame boxes in the same stack; the footprints differ. Pick one format for both colonies so frames are interchangeable. Browse beginner hives and kits by format.
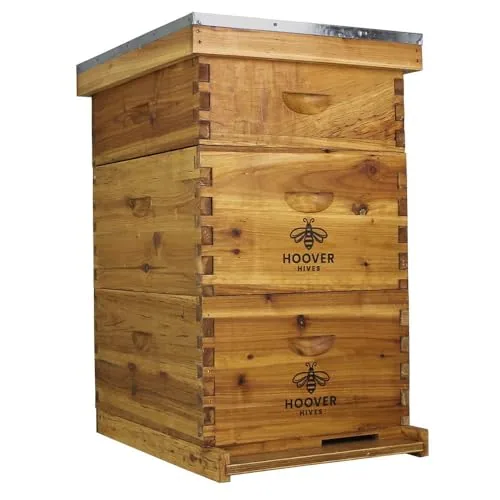
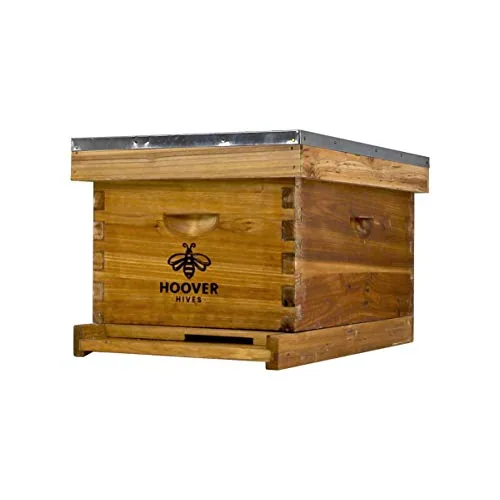
Hoover Hives 10-Frame Langstroth, Assembled, 2D+1M
- Frames
- 10 (30 NZ pine frames)
- Boxes
- 2 deep, 1 medium
- Material
- Fir exterior
Best for A ready-to-use full hive
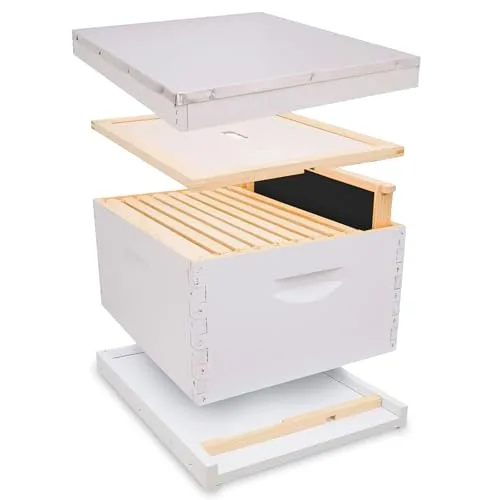
Hoover Hives 8-Frame Deep Hive Kit, Assembled
- Frames
- 8 with foundation
- Boxes
- 1 deep
- Material
- Fir
Best for A lighter assembled first hive
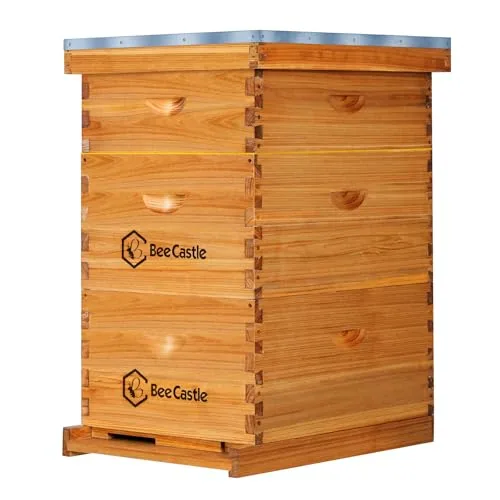
BeeCastle 10-Frame Waxed Langstroth Hive, 2D+1M
- Frames
- 10
- Boxes
- 2 deep, 1 medium
- Material
- Cedar boxes, pine frames
Best for A full-size first hive
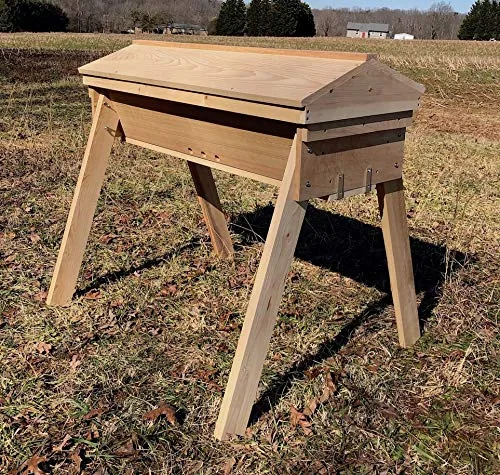
Gold Star Honeybees Top Bar Hive Kit
- Type
- Top bar hive
- Size
- 48 x 48 x 36 in
- Includes
- Bevel-point top bars, glass observation window
Best for Beekeepers who want to avoid lifting
Compare options in the best beehives for beginners, Langstroth vs top bar and Flow Hive vs Langstroth.
What gear do you need in year one?
Year-one gear falls into three groups. You need the first two before the bees arrive. The third can wait until you have honey to harvest.
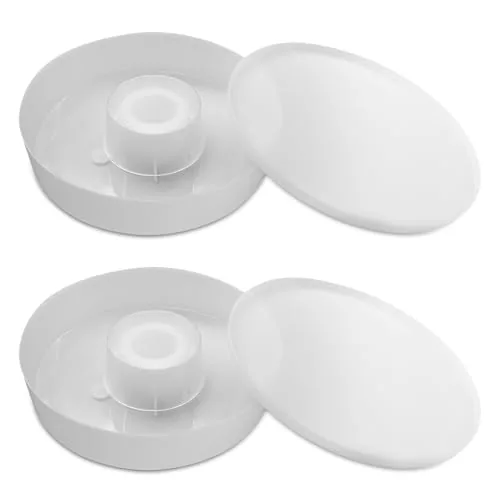
- The hive: bottom board (screened or solid), brood boxes, supers, frames with foundation, inner cover, outer cover, entrance reducer and a feeder.
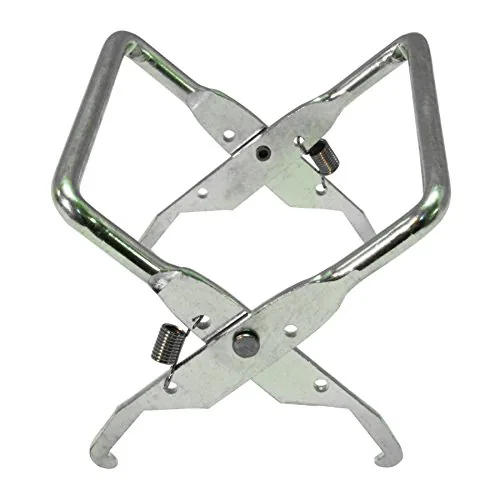
- Working gear: a smoker and fuel, a hive tool, a veil with a jacket or suit, gloves, and a mite test jar. A frame grip and a bee brush are handy extras.
- Harvest gear (later): an extractor or a crush-and-strain setup, a strainer and a bucket with a honey gate. Many clubs lend or rent extractors.
On protective gear, fit matters more than features. A suit that is too small pulls tight at the knees and shoulders, and bees sting through fabric that is stretched against skin. Sizing differs by brand, so check each maker’s size chart against your height and chest, not just your usual size.
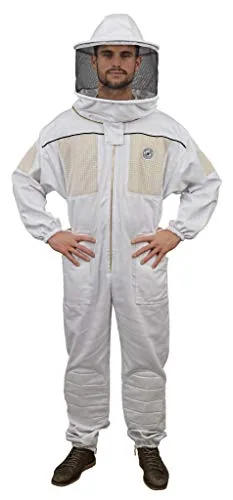
Humble Bee 430 Ventilated Suit with Round Veil
- Fabric
- 280 gsm polycotton + 220 gsm vent panels
- Veil
- Self-supporting round (removable)
- Sizes
- 3XL (fits 6'4"-6'6"); XXS-6XL range
Best for All-round ventilated suit
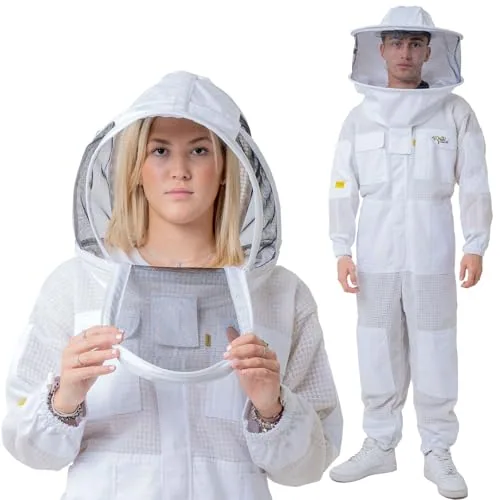
OZ ARMOUR 3-Layer Ventilated Suit, Fencing & Round, L
- Fabric
- Air mesh (listing says 3-layer and double-layer)
- Veil
- Fencing and round (detachable)
- Sizes
- L (listed variant); runs small per reviews
Best for Ventilated suit with two veils
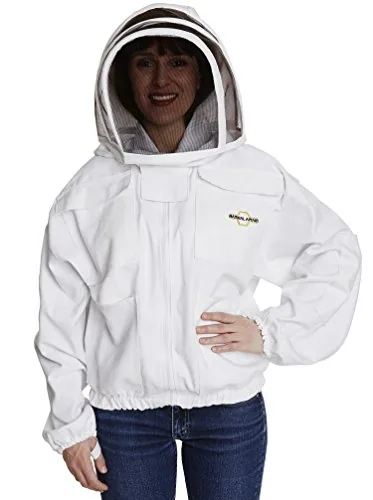
Natural Apiary Apiarist Polycotton Jacket, Fencing Veil
- Fabric
- Polycotton
- Veil
- Fencing (non-flammable)
- Sizes
- S/M (listed variant)
Best for Jacket for routine checks
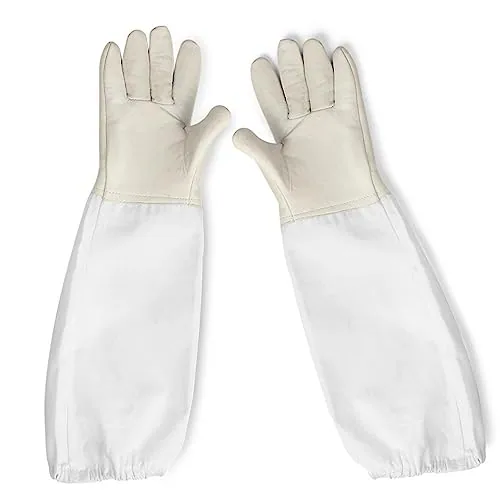
Flexzion Goatskin Beekeeping Gloves, Canvas Sleeves
- Sizes
- Fits most adults
- Ventilation
- Vent mesh at wrist
- Material
- Goatskin leather
Best for Basic glove protection
Want it in one box? See the best beekeeping starter kits.
What does a first-year beekeeping timeline look like?
The table below condenses the first year into seasons. Your regional calendar will shift these by a month or more, so treat it as an outline.
First-year outline (temperate US)
| Season | Main job | What to check |
|---|---|---|
| Fall–early winter | Learn, join a club, order bees | State registration, local rules, supplier pickup dates |
| Late winter | Build and place hives | Every slot has a frame; feeder ready; site level |
| Spring | Install bees, feed, first inspections | Queen released, eggs within about a week |
| Late spring | Add room, watch for swarming | Box 70–80% full of bees before adding the next |
| Summer | Mite counts, maybe a small harvest | HBHC threshold for peak population: 2 mites per 100 bees |
| Late summer–fall | Mite control, build stores | Winter-store target for your region; re-test after treatment |
| Winter | Leave them alone, heft monthly | Hive weight, blocked entrances, mice |
Source: Penn State Extension; HBHC 9th ed.; Hive & Frame seasonal calendar
That national average comes mostly from established commercial colonies. A first-year colony starting from a package spends most of the season drawing comb and building up, so plan for little or no honey in year one.
Cold winters, one main summer flowTuck colonies in and stop opening hives
Short winters, big April-May flow, July dearthTuck colonies in with 60 lb or more of honey
Early spring flow, long hot dearth, fall goldenrodBrood shrinks; robbing risk returns
No real winter, citrus spring flow, fall pepper flowMild-weather checks and stores
Mild winters, early spring flow, brutal summer heatWinterize at higher elevations
Wet or snowy winters, June flow, short seasonHands off: bees cluster below about 57°F
General guidance adapted from extension calendars. Timing varies with local forage, elevation and each year's weather; follow your local association and state apiarist. Full calendar and sources.
Common first-year mistakes to avoid
- Ordering bees too late. Regional suppliers often sell out by late winter. Order in early winter.
- Starting with one colony. With two, you can compare them and move a frame of eggs to one that loses its queen.
- Skipping mite counts. Varroa is the main reason colonies die over winter. Count monthly; don’t guess.
- Treating with anything off the label. Use only EPA-registered varroa products, exactly as the label says. Wood-bleach oxalic acid is not a registered treatment.
- Opening the hive too often, or in the cold. Most calendars say not to pull frames below about 50°F.
- Harvesting too much. The bees’ winter stores come first, especially in year one.
- Moving frames when something looks wrong. If brood looks sunken, greasy or smells foul, stop and call your state apiarist before moving any equipment.
Who should start with what?
- Most beginners: two 10-frame Langstroth hives, nucs or packages from a local supplier, a ventilated suit or jacket, and a club mentor.
- If lifting is a concern: 8-frame Langstroth boxes, or medium boxes throughout, so no box gets too heavy. Browse backyard and urban setups.
- If you want minimal equipment and no extractor: a top bar hive, accepting crush-and-strain harvests and fewer local mentors who use one.
- Families with kids: start with a hive that has an observation window and properly sized kids’ suits. See kids and family.
- Cold-winter regions: plan for insulation and a bigger winter-store target from day one. See winter prep.
The best way to start beekeeping is slowly and in the right order: rules and a club in the fall, bees ordered by early winter, two matching hives ready by late winter, then spring installation. Spend your first year on the basics (regular inspections, monthly mite counts against the HBHC thresholds, and full stores before winter) rather than on honey.
Questions
How to start beekeeping with no experience?
How many hives should a beginner start with?
Do I need a permit to keep bees?
How long until I get honey?
When is the best time to start beekeeping?
Where do I buy bees?
Sources
- Penn State Extension: Installing packaged bees
- Penn State / MAAREC: Beekeeping Basics (AGRS-93)
- Utah State University Extension: Setting up and placing a hive
- Honey Bee Health Coalition: Tools for Varroa Management, 9th edition (June 11, 2026)
- Apiary Inspectors of America: state apiarist directory
- USDA NASS: Honey (released March 13, 2026), 2025 crop