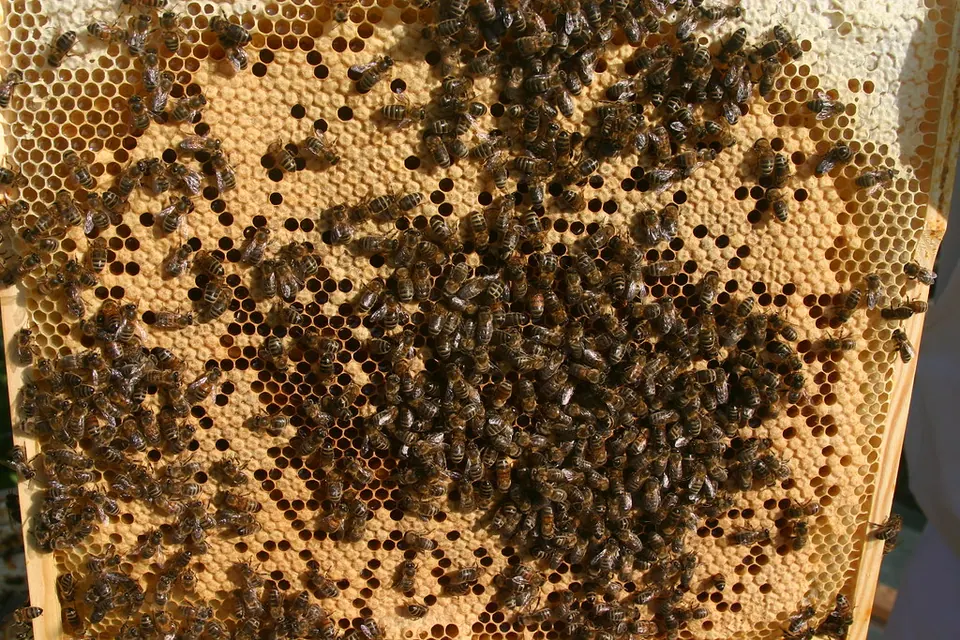
- Inspect on a warm, calm, sunny day. Our regional calendars say not to pull frames below about 50°F, and the Pacific Northwest and Mountain calendar suggests about 55°F for a full inspection.
- Each time you inspect a beehive, answer five questions: Is there a laying queen? Is the brood healthy? Are there enough stores? Is there room? Are there signs of swarming, pests or disease?
- Use a little cool smoke at the entrance and under the cover, then work slowly, frame by frame, from the outside in.
- Every 7–14 days in spring and early summer; less often in a dearth, and not at all in winter cold.
- Brood that looks sunken, greasy or smells foul: stop, close up, and call your state apiarist before moving anything.
Learning how to inspect a beehive is mostly about routine. A good inspection is short, calm and focused: you open the hive with a plan, answer a handful of questions, write the answers down and close up. The colony’s condition shows in its frames, especially in the brood nest, so most of your time goes there.
This guide follows the seasonal guidance in Penn State’s Honey Bee Management Throughout the Seasons and the regional extension calendars in our seasonal calendar, plus HBHC’s varroa sampling method. Record each visit in the free hive inspection log, which saves in your browser and prints a blank sheet for the apiary.
When should you inspect a beehive?
Pick a warm, calm, sunny time of day, ideally late morning to mid-afternoon when many foragers are out. Avoid cold, windy or rainy weather and the hour before a storm: the bees are crankier, and chilled brood can die.
Temperature guidance for opening a hive
Air temperature cited in regional extension calendars, °F
How often to inspect, by season
| Season | Frequency | Main focus |
|---|---|---|
| Early spring | Once, on the first warm day | Queen or eggs, stores, cluster size |
| Spring build-up and swarm season | Every 7–14 days | Queen cells, room, brood pattern |
| Main flow | Every 1–2 weeks | Super space; don’t let honey crowd the brood |
| Summer dearth | Shorter, less often | Robbing, beetles, mites; reduce entrances |
| Fall | A few checks | Stores, queen, mite re-tests |
| Winter | Don’t open in the cold | Heft from outside, clear entrances |
Source: Penn State; regional extension calendars
What gear do you need for an inspection?
Keep a dedicated bucket or tote with everything in it, so you never open a hive and realize the hive tool is in the garage.
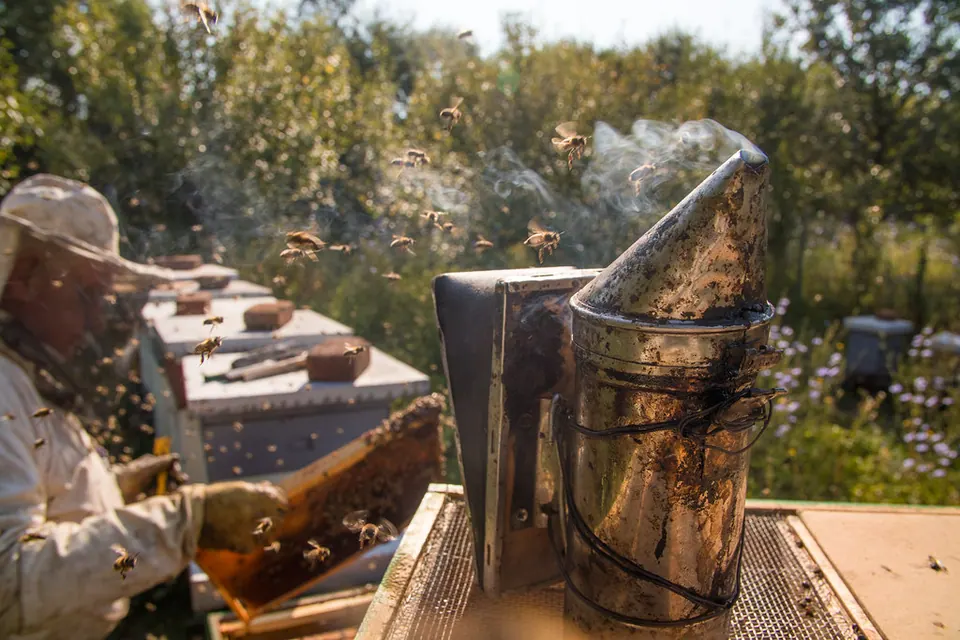
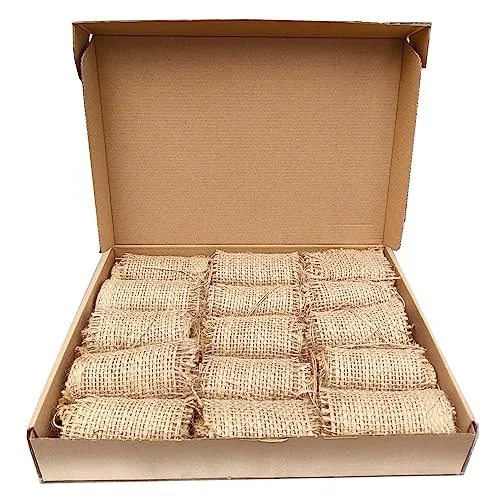
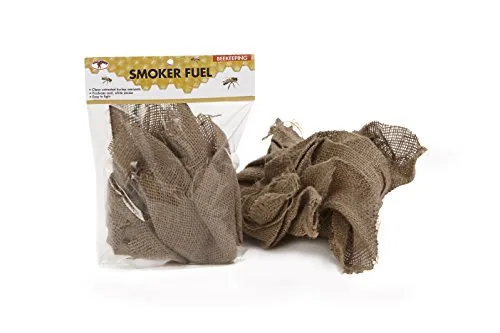
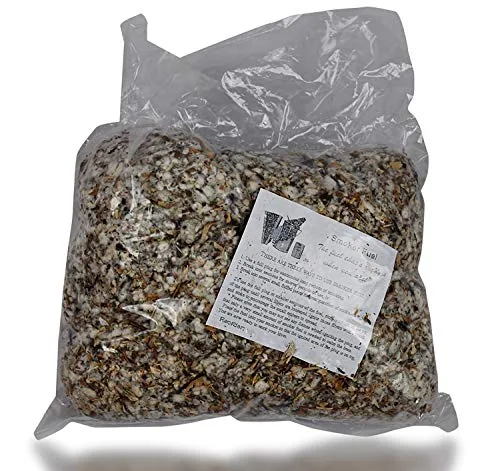
- A smoker, fuel and a lighter. Cool, white smoke is the goal.
- A hive tool to pry boxes and frames apart and scrape burr comb.
- A veil with a suit or jacket, and gloves (thin enough to handle frames gently).
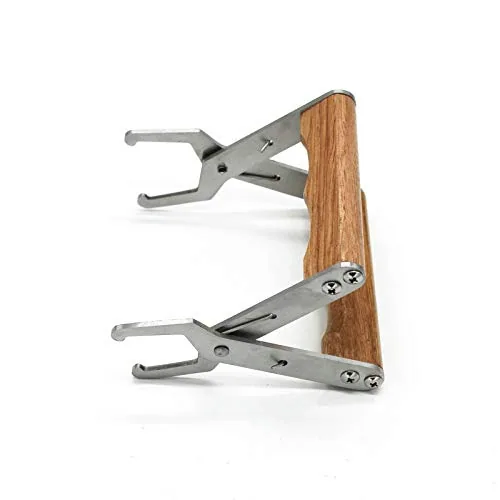
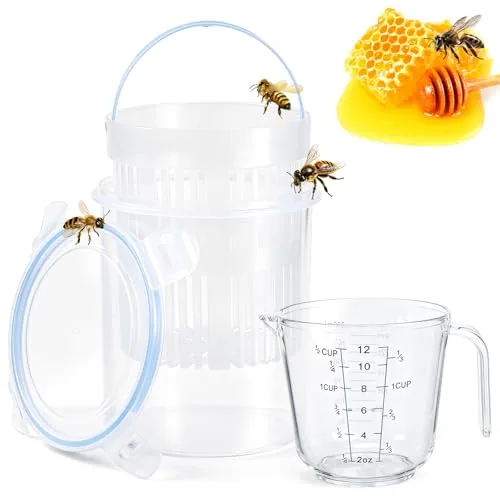
- Optional: a frame grip, a frame rest, a bee brush, a notebook or the printed log sheet.
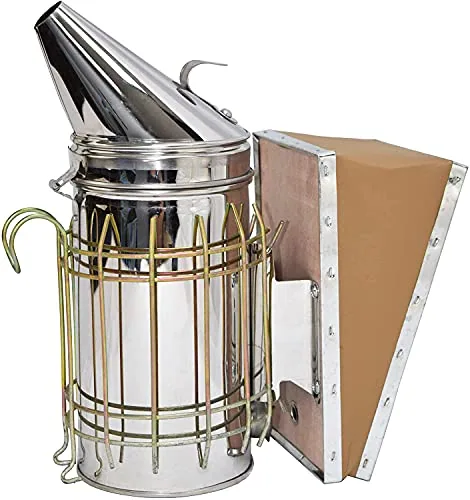
VIVO BEE-V001 Stainless Bee Smoker, 11"
- Material
- Stainless steel
- Size
- 11 in tall, 4 in canister
- Features
- Heat shield, mounting hook, perforated fire base
Best for A standard first smoker
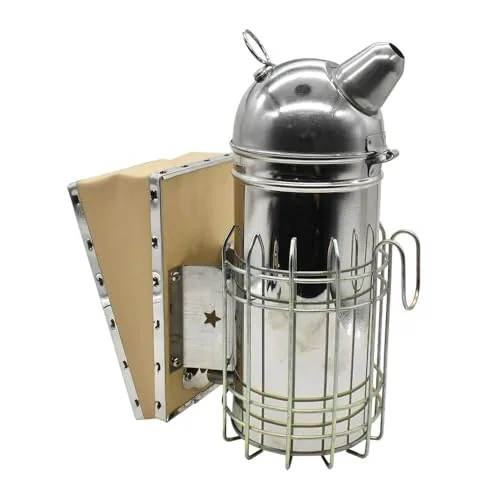
Goodland Bee Supply 11" Stainless Smoker, 3 Pellets
- Material
- Polished welded stainless steel
- Size
- 11 in
- Includes
- 3 mugwort smoke pellets
Best for Larger smoker for long sessions
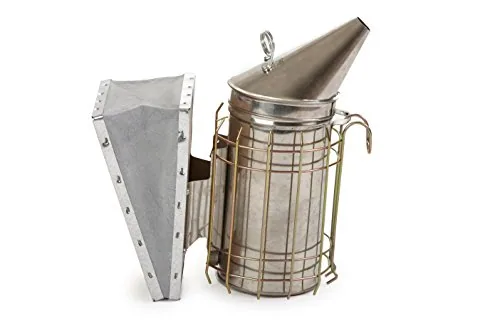
Little Giant SM7 7" Stainless Bee Smoker
- Material
- Stainless steel
- Size
- 7 in
- Features
- Wire heat shield, suede bellows, hive hook
Best for Backyard hive smoker
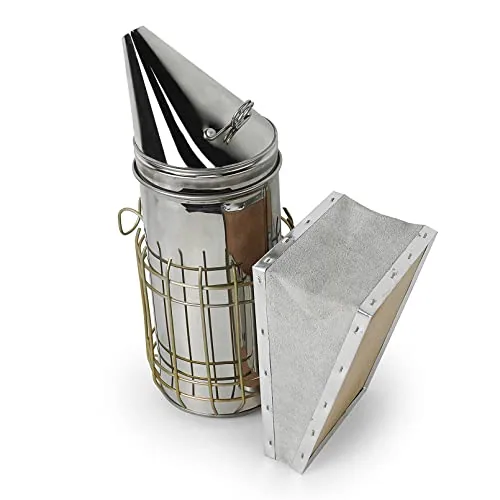
Luwint 12" Stainless Bee Smoker, Leather Bellows
- Material
- 201 stainless steel, cowhide bellows
- Size
- 12 in tall, 4 in canister
- Features
- Heat shield, side hook, perforated fire base
Best for Working several hives
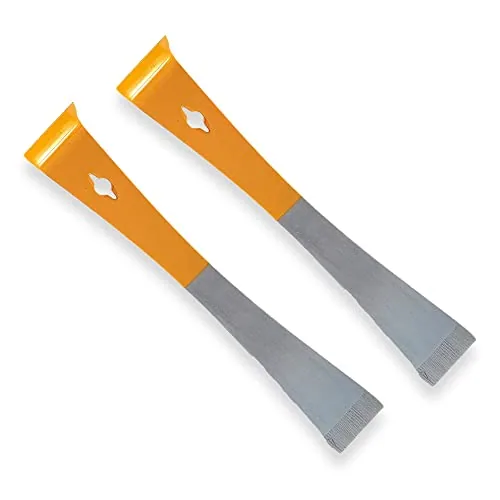
Foxhound Bee Co 304 Stainless Hive Tool, 2 Pack
- Material
- 304 stainless steel
- Count
- 2
- Finish
- Orange painted
Best for Hive tools that are hard to lose
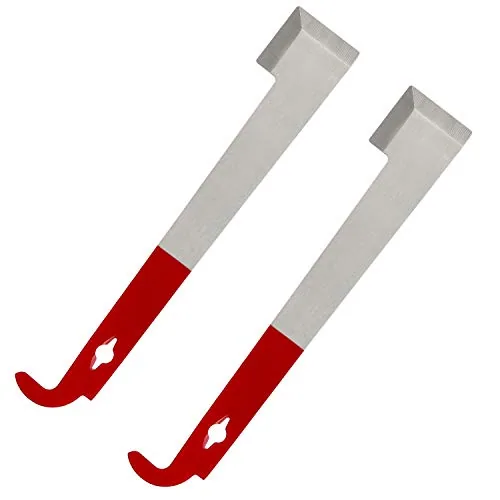
Blisstime Stainless J-Hook Hive Tool, 11", 2 Pack
- Type
- J-hook with nail puller
- Material
- Stainless steel
- Length
- 11 in
Best for Spare hive tools
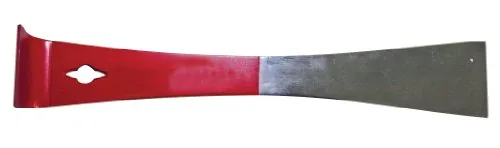
Mann Lake HD584 Standard Hive Tool, 9"
- Type
- Standard hook-end hive tool
- Material
- Thin spring steel
- Length
- 9 in
Best for The classic hive tool
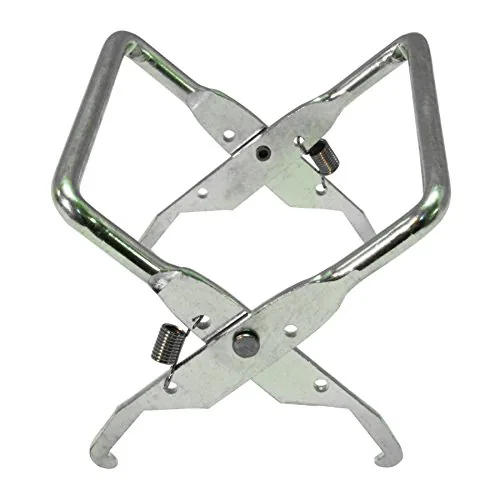
Mann Lake HD630 Standard Frame Grip
- Material
- Heavy-duty metal
- Fit
- Wood or plastic frames, all depths
Best for Lifting frames without fingertips
Gear compared: beekeeping suits, hive tools, bee smokers and bee suit vs jacket.
How to inspect a beehive, step by step
- Light the smoker and suit up
Light the fuel, pump until it catches, pack in more fuel on top and pump until the smoke is thick and cool. Check that your veil is zipped and your cuffs are closed.
- Approach from the side or back
Stand beside the hive, not in front of the entrance flight path. Give two or three gentle puffs at the entrance and wait about a minute.
- Open the top
Lift the outer cover, puff a little smoke under the inner cover, then lift it. Look at how many seams between frames are covered with bees; it tells you colony strength at a glance.
- Remove an outside frame first
Pry the outermost frame loose with the hive tool and lift it straight up slowly. Rest it on a frame perch or lean it against the hive. This gives you room to slide the others without rolling bees.
- Work toward the center
Lift each frame, hold it over the box, and look at both sides. Edge frames usually hold honey and pollen; the center holds brood. Keep frames in the same order and facing the same way.
- Read the brood nest
Look for eggs (tiny upright grains at the base of cells, easiest to see with the sun over your shoulder), young larvae and capped brood. A solid, mostly continuous patch of capped brood is a good sign.
- Check stores and space
Note how many frames hold capped honey and pollen, and how many are empty. If the box is about 70–80% full of bees, it is time to add the next box or a super.
- Look for queen cells, pests and disease
Swarm cells hang along the bottom edges of frames; supersedure cells tend to sit mid-frame (Utah State notes position is a clue, not a rule). Watch for small hive beetles, wax moth webbing, and any odd-looking brood.
- Take a mite sample if it is due
Once a month in season, take about 300 bees from a brood frame (not the one with the queen) for an alcohol wash. See how to do an alcohol wash.
- Close up and write it down
Replace frames in order, push them together, replace the covers and log what you saw before you forget. The log is how you spot trends: a shrinking brood area, or mite counts creeping up.

What should you look for on each frame?
Inspection checklist: what you see and what it means
| What you see | Likely meaning | What to do |
|---|---|---|
| Eggs and young larvae | ✓ Queen laying in the last few days | Nothing; no need to find the queen |
| No eggs, no young larvae | ~ Queen lost, or a brood break | Recheck in a few days; ask a mentor; add a frame of eggs from another hive |
| Several eggs per cell, on cell walls | ✗ Laying workers likely | Ask your club; this is hard to fix |
| Solid capped brood | ✓ Healthy, productive queen | Keep going |
| Spotty brood with sunken, greasy or perforated cappings | ✗ Possible disease | Stop, close up, call your state apiarist |
| Queen cells on bottom edges | ~ Swarm preparation | See our swarm prevention guide |
| Brood nest crowded with honey | ~ Honey-bound, swarm risk | Add space; move honey frames up |
| Few stores in fall | ✗ Starvation risk | Feed 2:1 syrup in an in-hive feeder |
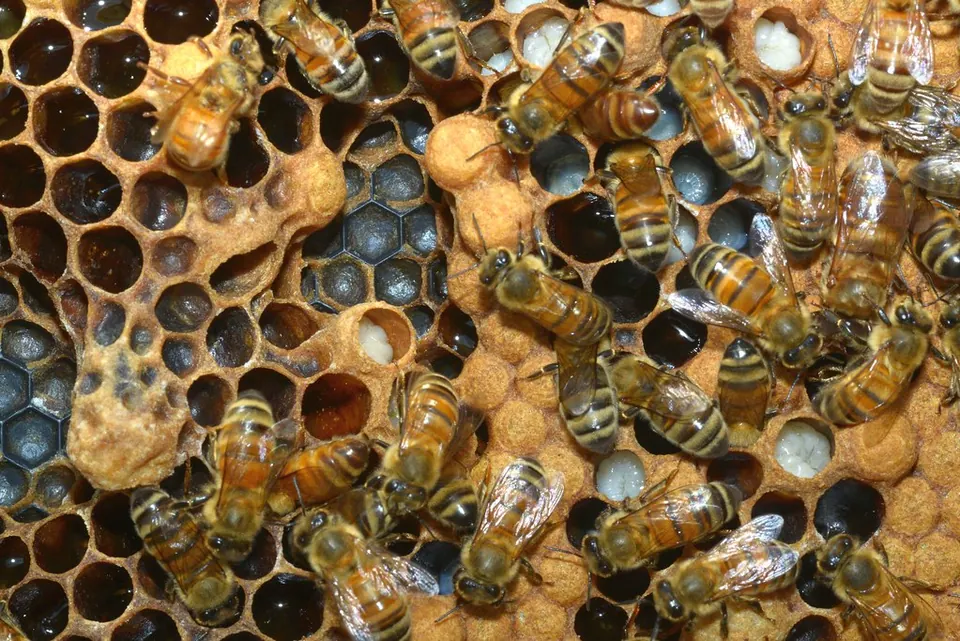
Queen cells on the bottom edges in spring usually mean the colony is preparing to swarm. Our swarm prevention guide covers what to do next.
How to keep bees calm while you work
- Move slowly and avoid bumping boxes or banging frames.
- Use smoke lightly and often rather than heavily once. Too much smoke drives bees out and can taint honey.
- Avoid standing in front of the entrance.
- Keep inspections short in a dearth. Exposed honey can set off robbing.
- Wear clean gear. Sting alarm pheromone on gloves and cuffs can keep bees agitated.
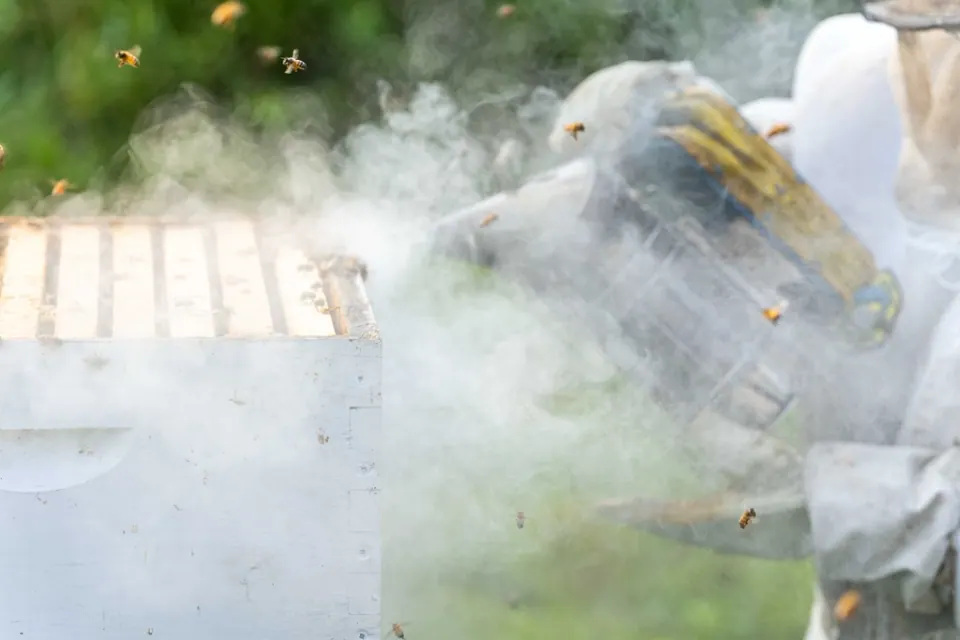
Stings happen even in good gear, usually through fabric pulled tight against skin or at gaps in cuffs and zips. Seek emergency care for signs of anaphylaxis, and anyone with a known allergy should talk to a doctor or allergist before working bees.
Mistakes to avoid
- Hunting for the queen every time. Eggs prove she was there in the last three days.
- Inspecting in the cold. Chilled brood dies; wait for a warm, calm day.
- Rolling bees. Lift frames straight up and give yourself room by removing an outside frame first.
- Leaving honey exposed. Cover open boxes in a dearth.
- Not writing it down. You won’t remember which hive had the spotty brood three weeks ago.
- Moving frames from a sick-looking hive. Stop and call your state apiarist.
Who needs which inspection gear?
- Beginners: a full ventilated suit and goatskin gloves for confidence. See protective gear.
- Hot regions: a ventilated jacket and a large smoker that stays lit. See hive tools and smokers.
- Several hives: a frame grip and a perch save time, and the inspection log keeps hives straight.
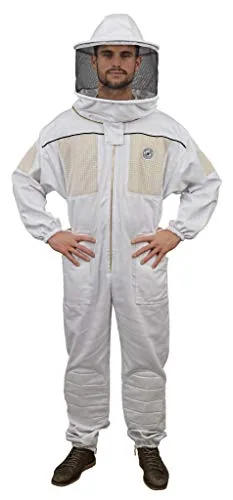
Humble Bee 430 Ventilated Suit with Round Veil
- Fabric
- 280 gsm polycotton + 220 gsm vent panels
- Veil
- Self-supporting round (removable)
- Sizes
- 3XL (fits 6'4"-6'6"); XXS-6XL range
Best for All-round ventilated suit
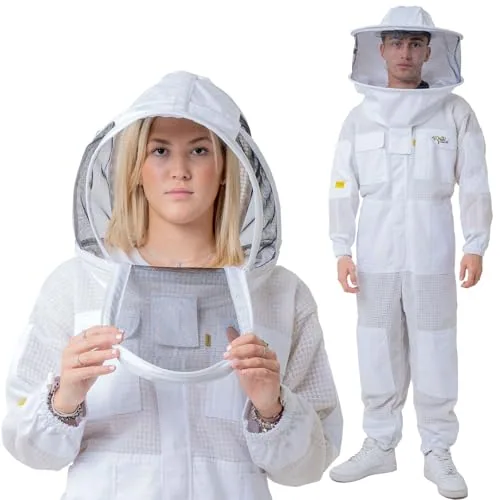
OZ ARMOUR 3-Layer Ventilated Suit, Fencing & Round, L
- Fabric
- Air mesh (listing says 3-layer and double-layer)
- Veil
- Fencing and round (detachable)
- Sizes
- L (listed variant); runs small per reviews
Best for Ventilated suit with two veils
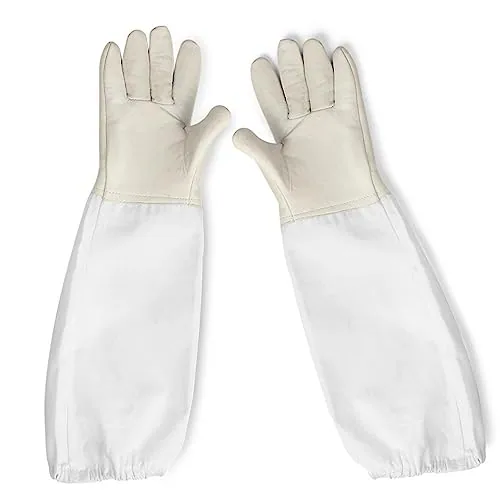
Flexzion Goatskin Beekeeping Gloves, Canvas Sleeves
- Sizes
- Fits most adults
- Ventilation
- Vent mesh at wrist
- Material
- Goatskin leather
Best for Basic glove protection
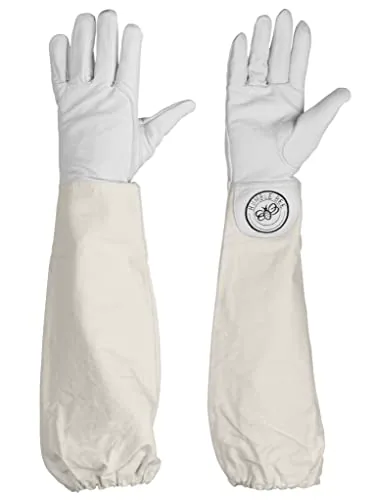
Humble Bee 110 Goatskin Gloves, Extended Sleeves
- Sizes
- XL (listed variant)
- Material
- 60% cotton canvas / 40% goat leather
- Sleeve
- Full-length canvas, elastic cuffs
Best for Durable everyday gloves
A good beehive inspection follows the same routine every time: warm calm day, light smoke, outside frame first, brood nest in the middle, then stores, space, queen cells and pests. Write it down and close up within 15–20 minutes. Inspect every 7–14 days in spring, less in summer and fall, and never pull frames in winter cold. And if brood ever looks wrong, stop and call your state apiarist.
Questions
How often should you inspect a beehive?
What temperature is too cold to open a hive?
Do I need to find the queen?
How long should an inspection take?
What should I look for when I inspect a beehive?
Should I use smoke every time?
Sources
- Penn State Center for Pollinator Research: Honey Bee Management Throughout the Seasons
- Penn State / MAAREC: Beekeeping Basics (AGRS-93)
- Utah State University Extension: Splitting the hive (queen cell position)
- Utah State University Extension: Beekeeping annual calendar
- Texas Apiary Inspection Service: American foulbrood
- Honey Bee Health Coalition: Tools for Varroa Management, 9th edition (June 11, 2026)